

A stone bath is an exquisite centrepiece for any stylish bathroom space.
With its sculptural form and impeccable finish, it is the ultimate statement of a refined home.
Whilst owning a stone bath tub is a luxurious and relaxing addition to your home, we understand that the weight of a stone bath and the installation process can seem daunting.
The reality is that a seamless stone bath installation is straightforward with the right preparation and professional assistance. This guide is designed to demystify the process, ensuring a smooth transition from dream to reality.
Content:
Pre-installation planning: Your guide to a seamless process

A flawless installation begins long before your bathtub arrives.
Careful pre-planning is the key to ensuring both the safety of your space and the success of your project.
1. Understanding the weight: The first consideration
While Nôsa’s stone resin baths are considerably lighter than those carved from a single block of natural stone, they are still more substantial than standard acrylic models. With our collection typically starting from 100kg, this density is what gives them their luxurious feel and superior thermal properties; however, a stone bath’s weight is one of the main concerns that people have when it comes to its installation.
Can stone baths be installed upstairs?
Stone baths can be installed upstairs, but it’s worth having a structural assessment first to ensure that your space is built to withstand the bath’s weight.
Structural integrity and floor reinforcement
Consult a qualified structural engineer or an experienced builder to assess your floor’s load-bearing capacity. Your bathroom’s floor should be able to bear your bath’s complete load without compromising its integrity.
For older homes or second-floor installations, bathroom floor reinforcement may be necessary to ensure the stability of the structure. This simple step ensures that the combined weight of the bath, water, and occupant can be safely supported.
2. Access and delivery logistics
Getting your bath from the curb to the bathroom requires a clear pathway.
- Consider the dimensions of your stone tub carefully, by measuring its length, width and height.
- Carefully measure all doorways, hallways, and stairways to ensure the bath can be manoeuvred into its final position.
- Due to its weight, a heavy stone bathtub requires two to four people to handle it safely. Whilst Nôsa’s professional delivery service will ensure your bath is safely delivered kerbside, it’s worth ensuring that you have enough help available to carry your new bathtub into your bathroom.
How to install a freestanding stone bath
Once the planning is complete, the physical installation should always be handled by an experienced tradesperson.

1. Do stone baths need special installation?
In short, yes. Stone bath installation requires a professional with experience in high-end bathroom fixtures and fittings. Their expertise ensures that the installation is not only correct but also flawless.
Before delivery and installation, prepare and clear the space
- Remove obstacles such as furniture that could disrupt the installation.
- Turn off the water supply to the bathroom before installation to prevent leaks.
- Remove your existing tub by carefully disconnecting the plumbing fixtures and detaching it from the walls.
- Ensure the floorspace is clean, level and able to take the weight of the tub.
Plumbing and drainage
The first step in installing a freestanding bath is to address the plumbing. A plumber must ensure that the waste pipe and the connections for taps (either floor-mounted or wall-mounted) are in the precise location.
The Installation Steps
This process involves collaboration between a fitter and a plumber, ensuring the floor is level, carefully positioning the bath, making all the necessary plumbing connections, and finally, sealing the base for a clean, watertight finish.
While every bathroom is unique, the following steps are a general guide for the seamless installation of your freestanding stone bath.
Here’s how it should be installed:
Installation onto a wooden floor
- Begin by marking the precise footprint of the bath base on the floor. The waste pipe should be brought through the floor within this designated area, ready for connection. Once the waste pipe is in place, the final floor covering can be completed, ensuring a seamless and polished finish.
- Using two temporary support blocks, carefully lift and position the bath, providing enough clearance to comfortably access and connect the waste fitting to your trap underneath.
- Before final placement, fill the bath halfway with water and then release the waste to perform a thorough leak check.
- Once you are completely satisfied with the connections, remove the support blocks and gently lower the bath into its final position. Your bath is now successfully installed.
Installation onto a concrete floor
- Using a 44mm hole saw drill attachment, drill a circular hole into the wall at the back of the bath’s base to provide the necessary access for the plumbing connections.
- Mark the bath’s footprint on the floor. Within this area, bring the waste pipe across the floor behind the bath and through the hole.
- As with a wooden floor, use two support blocks to lift the bath. This will provide the necessary height to connect the waste fitting to your trap.
- Fill the bath halfway with water and release to test for any leaks.
- Once there are no leaks, remove the support blocks and lower the bath into its final, permanent position.
How long will the installation process take?
The time required for a professional installation typically ranges from 2 to 4 hours, assuming the plumbing and floor preparation are already complete. This timeframe includes carefully positioning the bath, connecting the waste, and performing essential leak tests. However, we recommend allowing 24 hours after the final sealing is applied before using the bath to ensure all materials are fully cured.
Post-installation care
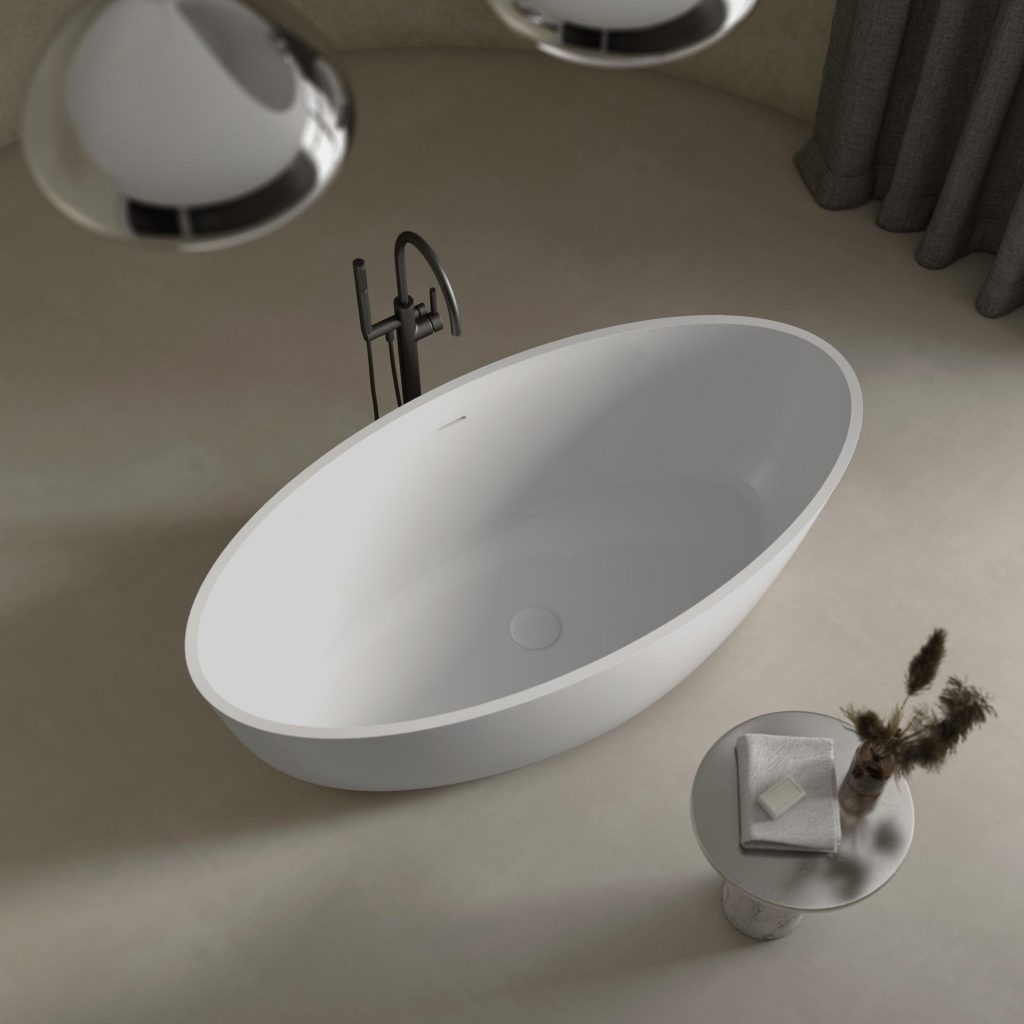
Once your new stone bath is installed and ready to use, it’s time to think about putting a reliable aftercare routine in place to keep your new bath looking and performing at its best.
Prioritise wiping down your bath after every use with warm, soapy water and a soft cloth to prevent residue from forming and settling. For weekly cleaning, use a gentle bathroom cleaner to clean your bath more thoroughly, avoiding harsh chemicals and abrasive sponges, as these could damage its surface.
For more aftercare tips, read our guide on How To Care For A Stone Bath.
Choose the right stone bath for your home from Nôsa
With the right planning and professional help, a stone bath installation is a manageable process. It is an act of curation, transforming your bathroom into a space that is both beautiful and serene. By choosing a Nôsa stone bath, you are acquiring an exceptional product from a trusted brand offering the expert guidance you need to bring your dream to life. Or for more information on purchasing a stone bath for your home, contact us.