1600mm Finish: Matt Freestanding Baths
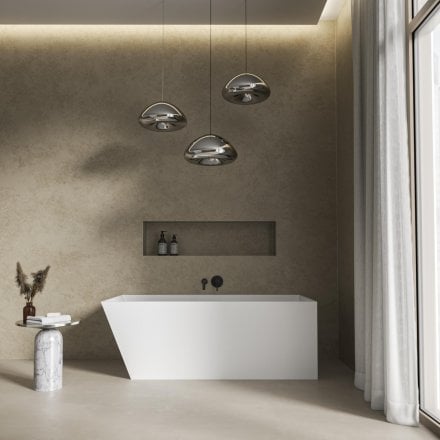
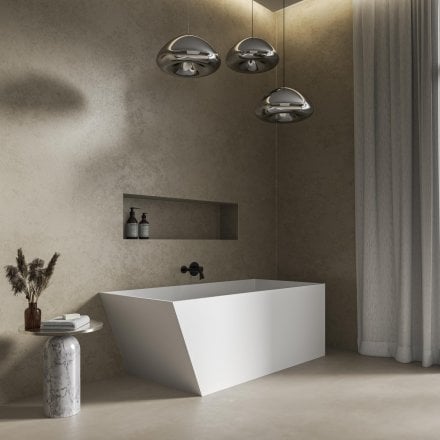
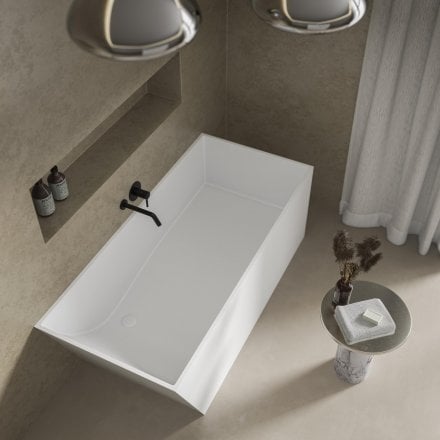
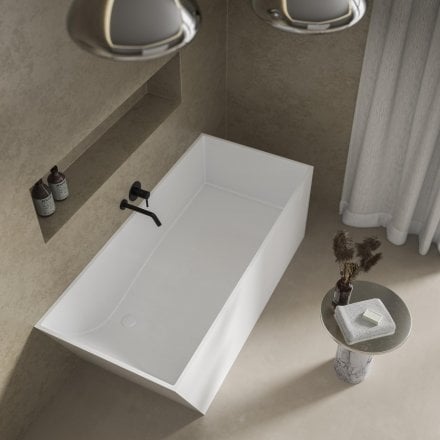

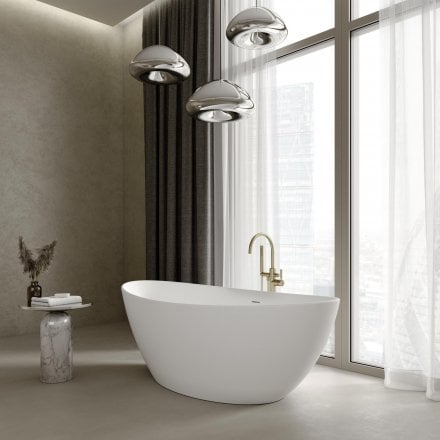
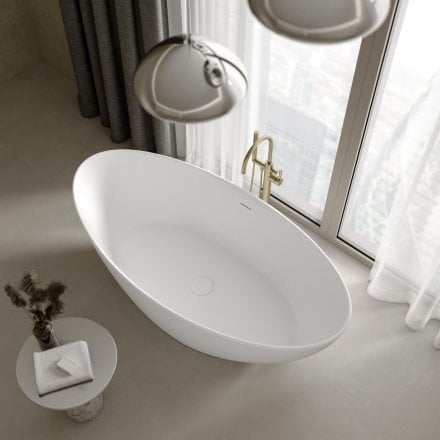
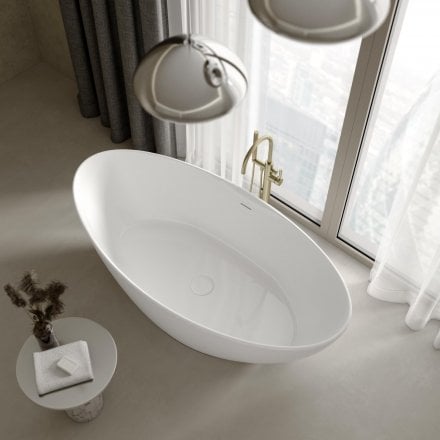
Is a Nôsa freestanding bath suitable for my bathroom?
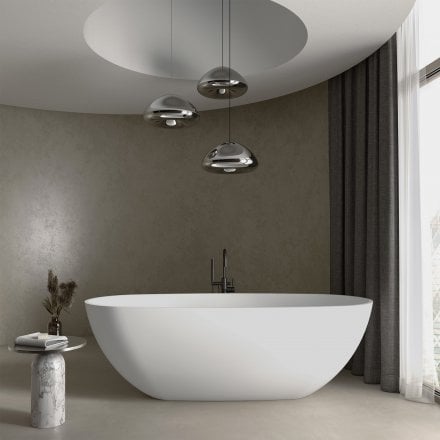
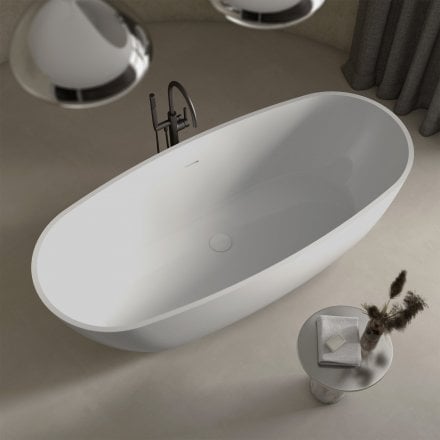
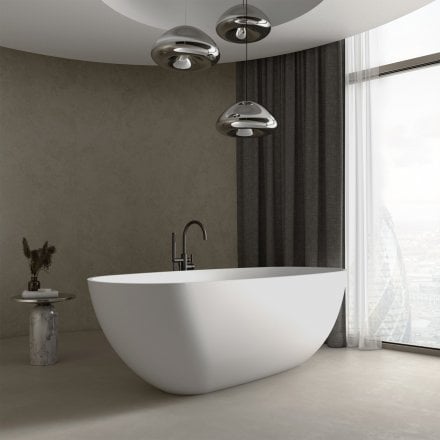
Freestanding baths are a conscious design choice that should not be taken lightly, and they only suit certain types of bathrooms. Ultimately, you need ample surrounding space for your bath to truly stand out and serve as the centrepiece. These types of baths are best suited to grand master bathrooms and are ideal for people looking to convert their bathroom into a spa-like sanctuary. Standalone baths can be tailored to specific design choices, which is why we offer an array of stylistic options.
Should I buy an acrylic, clear resin or stone resin freestanding bathtub?
Which of these three bathtubs you buy comes down to numerous factors, including weight, heat retention, and design preferences. Stone resin is generally the heaviest of the three (Nôsa’s stone resin bath tubs weigh between 110kg and 200kg), followed by clear resin and acrylic. Acrylic bathtubs are typically easier to install as they are lighter, removing the need to reinforce the subfloor in some spaces. All our resin baths have superior heat retention properties, which are particularly desirable for spa-like settings. Clear resin offers a broader range of colours than the other two options.
How big should my freestanding bath be?
You should choose your freestanding bath according to the amount of floor space you have. Ideally, you should have around 12 to 18 inches of clear space on any side you’ll walk around. This will give your bathtub an authentic freestanding feel and make your room appear more open. You should leave at least 18 inches of space for the main entry/exit side or where you have floor standing taps.
How are Nôsa freestanding baths installed?
Installing a Nôsa freestanding bath is a straightforward process designed to deliver a flawless, high-end finish:
- Preparation & Layout: Reference the technical schematic for your bath model to trace the precise footprint onto your finished floor and position the waste pipe. If installing on solid concrete where underfloor plumbing isn't possible, a 44mm hole can be drilled at the rear base to route the waste pipe.
- Plumbing Connection: Resting the bath on temporary wooden supports at each end provides easy access underneath. Connect the included slim waste connector and 40mm flexible pipe to your trap (a HEPVO waterless trap is recommended for optimal performance), taking care not to overtighten.
- Leak Testing & Placement: Fill the bath halfway with water and drain it to test for any leaks. Once confirmed, remove the supports and gently lower the bath into its final position
Please refer to our Bath Installation Guide for additional information.